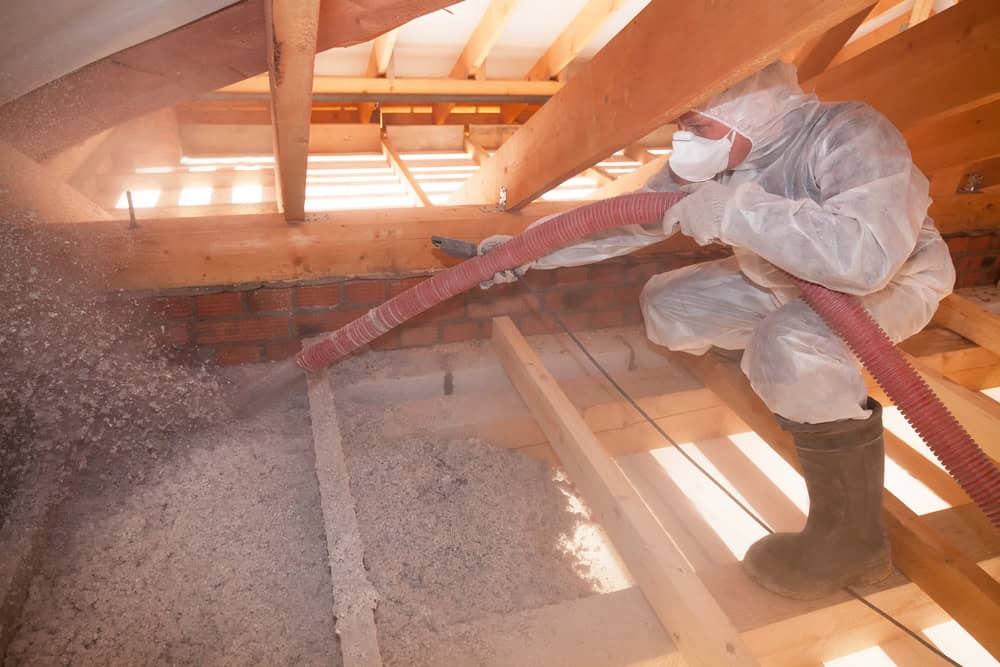
If you are looking for ways to improve your home’s energy efficiency, installing insulation in the attic is a great place to start. In this blog post, we will walk you through how to install insulation in attic – from choosing the right type of insulation to getting the job done properly. Follow these simple tips, and you will be on your way to keeping your home comfortable all year round!
Before Installing Insulation
Before installing insulation, it is important to assess your needs and determine the right type of insulation for your attic. There are various types of insulation available on the market, so take the time to research which one is best for your home. In most cases, fiberglass or cellulose insulation is good for attics. However, if you live in an area with a lot of moisture or extreme temperatures, you may need to opt for something more specialized, like spray foam insulation.
How to Install Insulation in Attic With Energy Efficiency Tips
To improve your home’s energy efficiency, one of the best things you can do is install insulation in your attic. Insulation helps keep your home warm in winter and cool in summer, leading to significant savings on your energy bills.
Once you have chosen the right type of insulation, it is time to get started! Here are a few tips for how to install insulation in your attic:
- If you have access to the attic inside the house, start by removing the existing insulation. It can be a dusty process, so wear a dust mask and goggles.
- Once the old insulation is removed, measure the joists and cut the new insulation to size. You want it to fit snugly between the joists without any gaps.
- Use wire staples or duct tape to attach the insulation to the joists. Be sure not to cover up any ventilation holes or electrical boxes.
- If you do not have access to the attic inside the house, you will need to go into the attic through a hatch or trapdoor. Start by removing the existing insulation and then measure and cut the new insulation to size.
- Use wire staples or duct tape to attach the insulation to the joists. Again, be sure not to cover up any ventilation holes or electrical boxes.
- Seal any cracks or openings in the attic floor with caulk or expanding foam. It will help keep out cold air and improve your home’s energy efficiency.
- Replace any damaged roofing tiles and make sure all vents are clear and working properly.
- Install a chimney cap to prevent moisture from entering the attic if you have a chimney.
Following these steps will help you improve your home’s energy efficiency and save on heating costs.
Conclusion
Installing insulation in an attic is a relatively simple process that can be completed in a few hours. You should have no trouble getting the job done right by following the steps we’ve outlined. If you have any questions about the process or want more information, please contact our professionals. We would be happy to help!


